How to create a matrix in Excel and Basic Matrix functions
How to create a matrix in Excel
First thing to do is to know the size of your matrix that you want to create in Excel.
Let's take a 3 by 3 matrix. Enter the number of the matrix.
Then name it in the top left corner. Like here M2M.

A basic operation on a matrix in Excel
If you want to add, substract, multiply or divide or do any basic math operation to a excel matrix.
Select a range of the same size as the matrix. Type for example =M2M+1
You follow this by SHIFT + CTRL + ENTER and this will create the new matrix like here under.
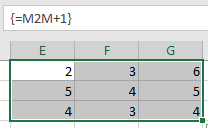
The most important when working with matrixes in Excel is to remember to select the area and to finish the operation with SHIFT + CTRL + ENTER.
If you want to add 2 matrixes you can for example do =M2M+E1:G3 followed by SHIFT + CTRL + ENTER.

Now the basic functions
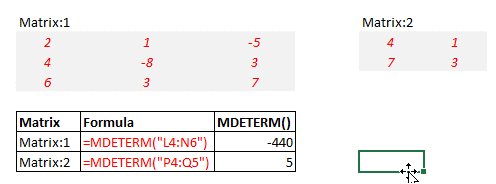
Excel Function MDETERM
The MDETERM() function is used to calculate the determinant of a square matrix.
A square matrix is the one which has same number of rows and columns.
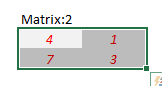
Consider a sample matrix :
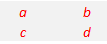
The determinant of the above matrix is calculated using the formula:
determinant= ad - bc
Excel Function MINVERSE
The MINVERSE() function is used to calculate the inverse of a square matrix.
The inverse of the square matrix is also a square matrix with identical number of rows and columns.
The result is rounded to 16 decimal places.
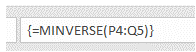
Again, to create a matrix you select all the members of a matrix.
then you type the formula
like the one below and type CTRL - SHIFT - ENTER instead of ENTER
the parenthesis sign is created automatically

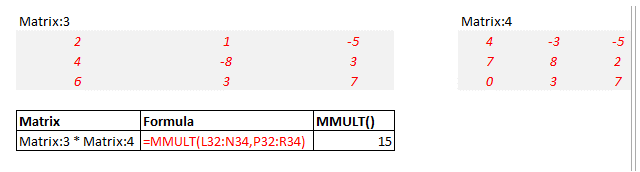
Excel Function MMULT
The MMULT() function is used to determine the product of two matrices.
The product of matrices is possible only if the number of rows in matrix1 is equal to the number of columns in matrix2.
This function takes two arrays as its arguments.